
Stair Update: Bottom Half is Done!
8:36 AM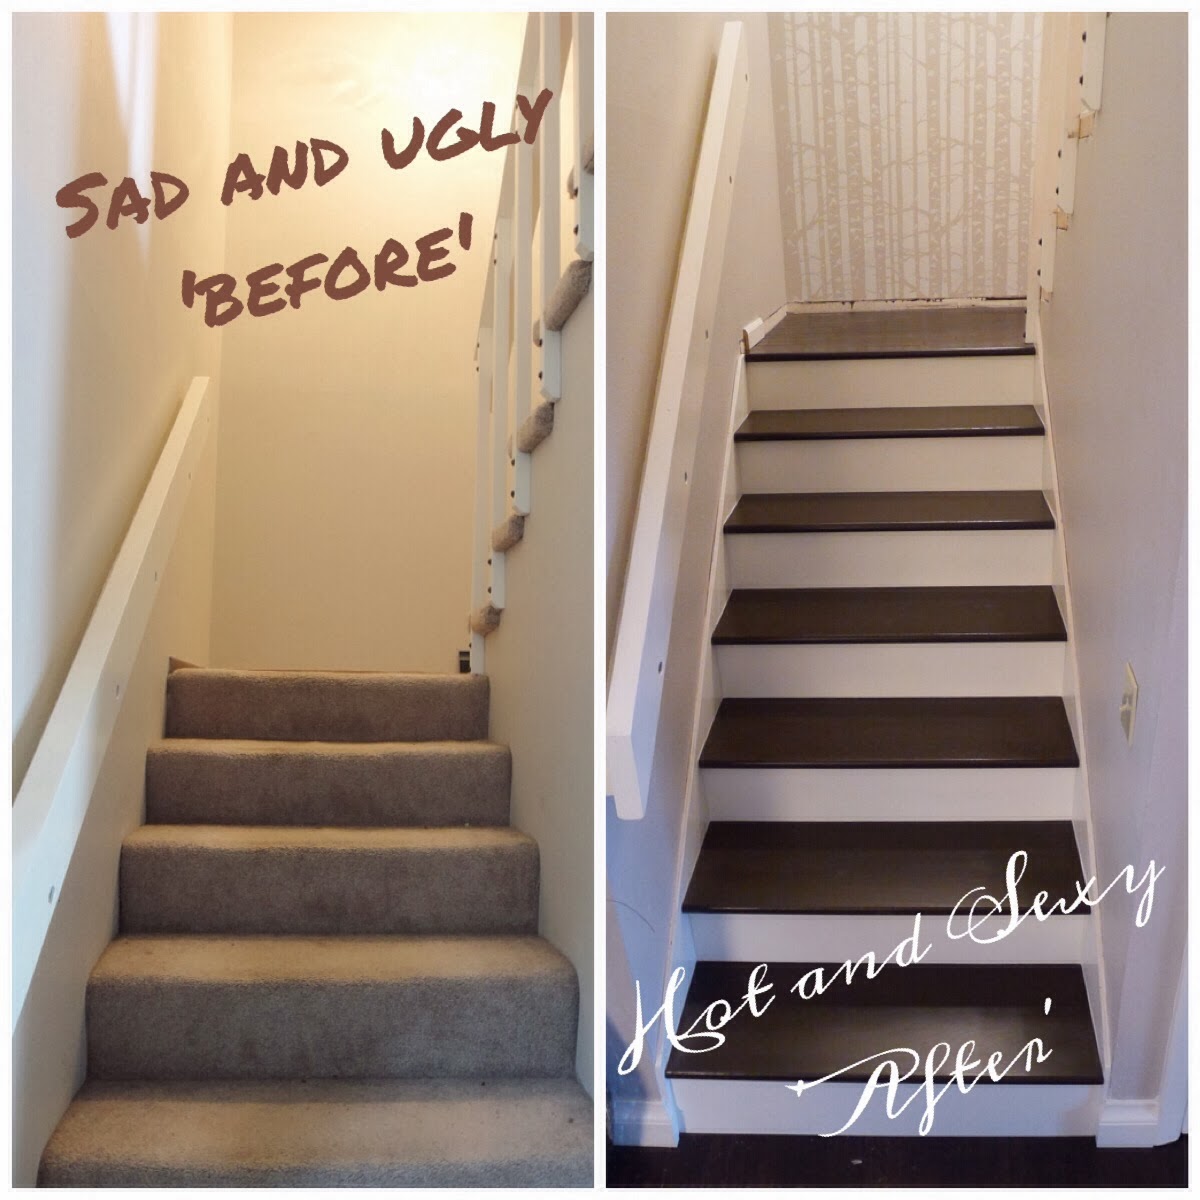
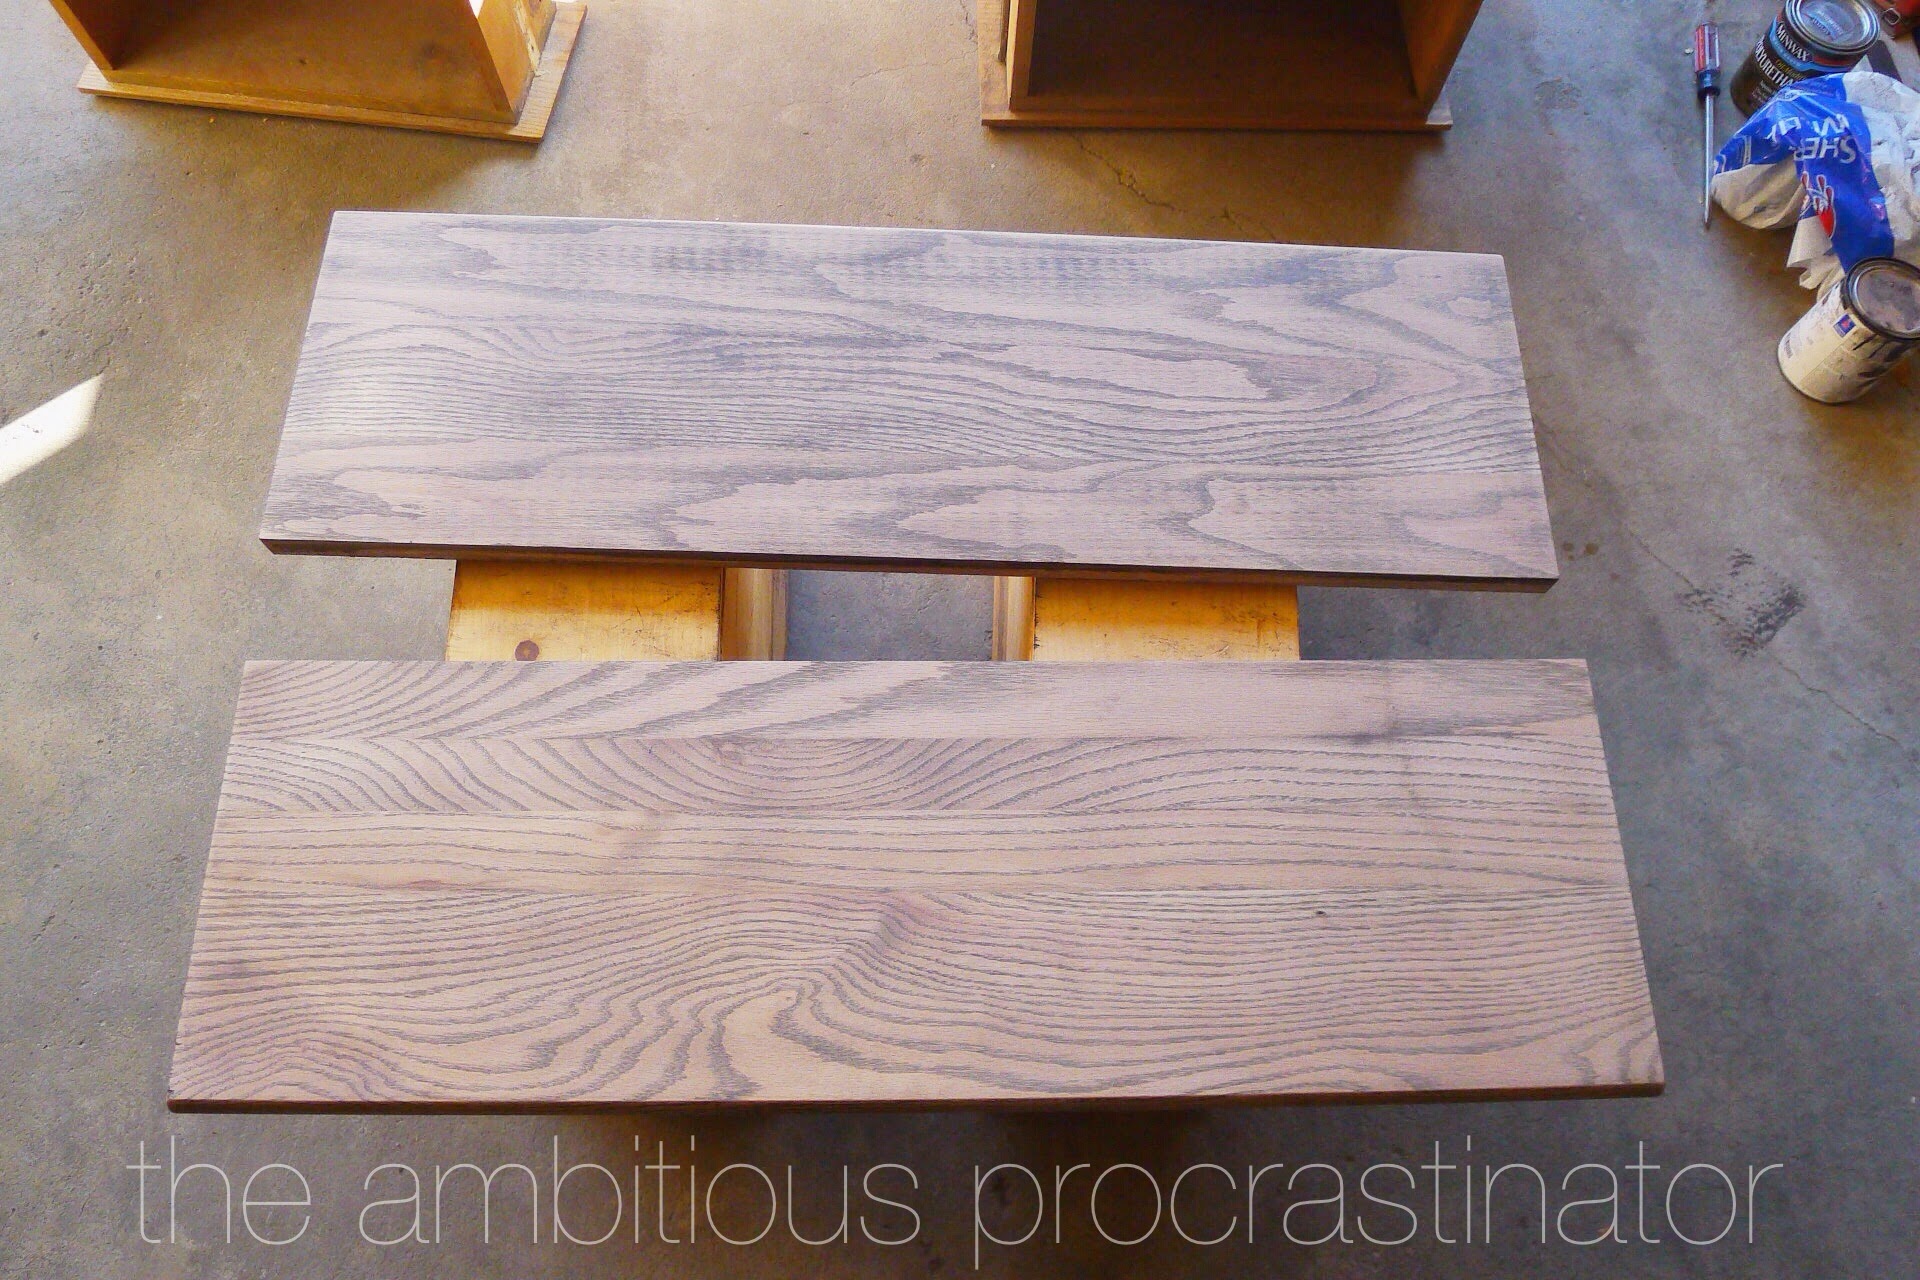
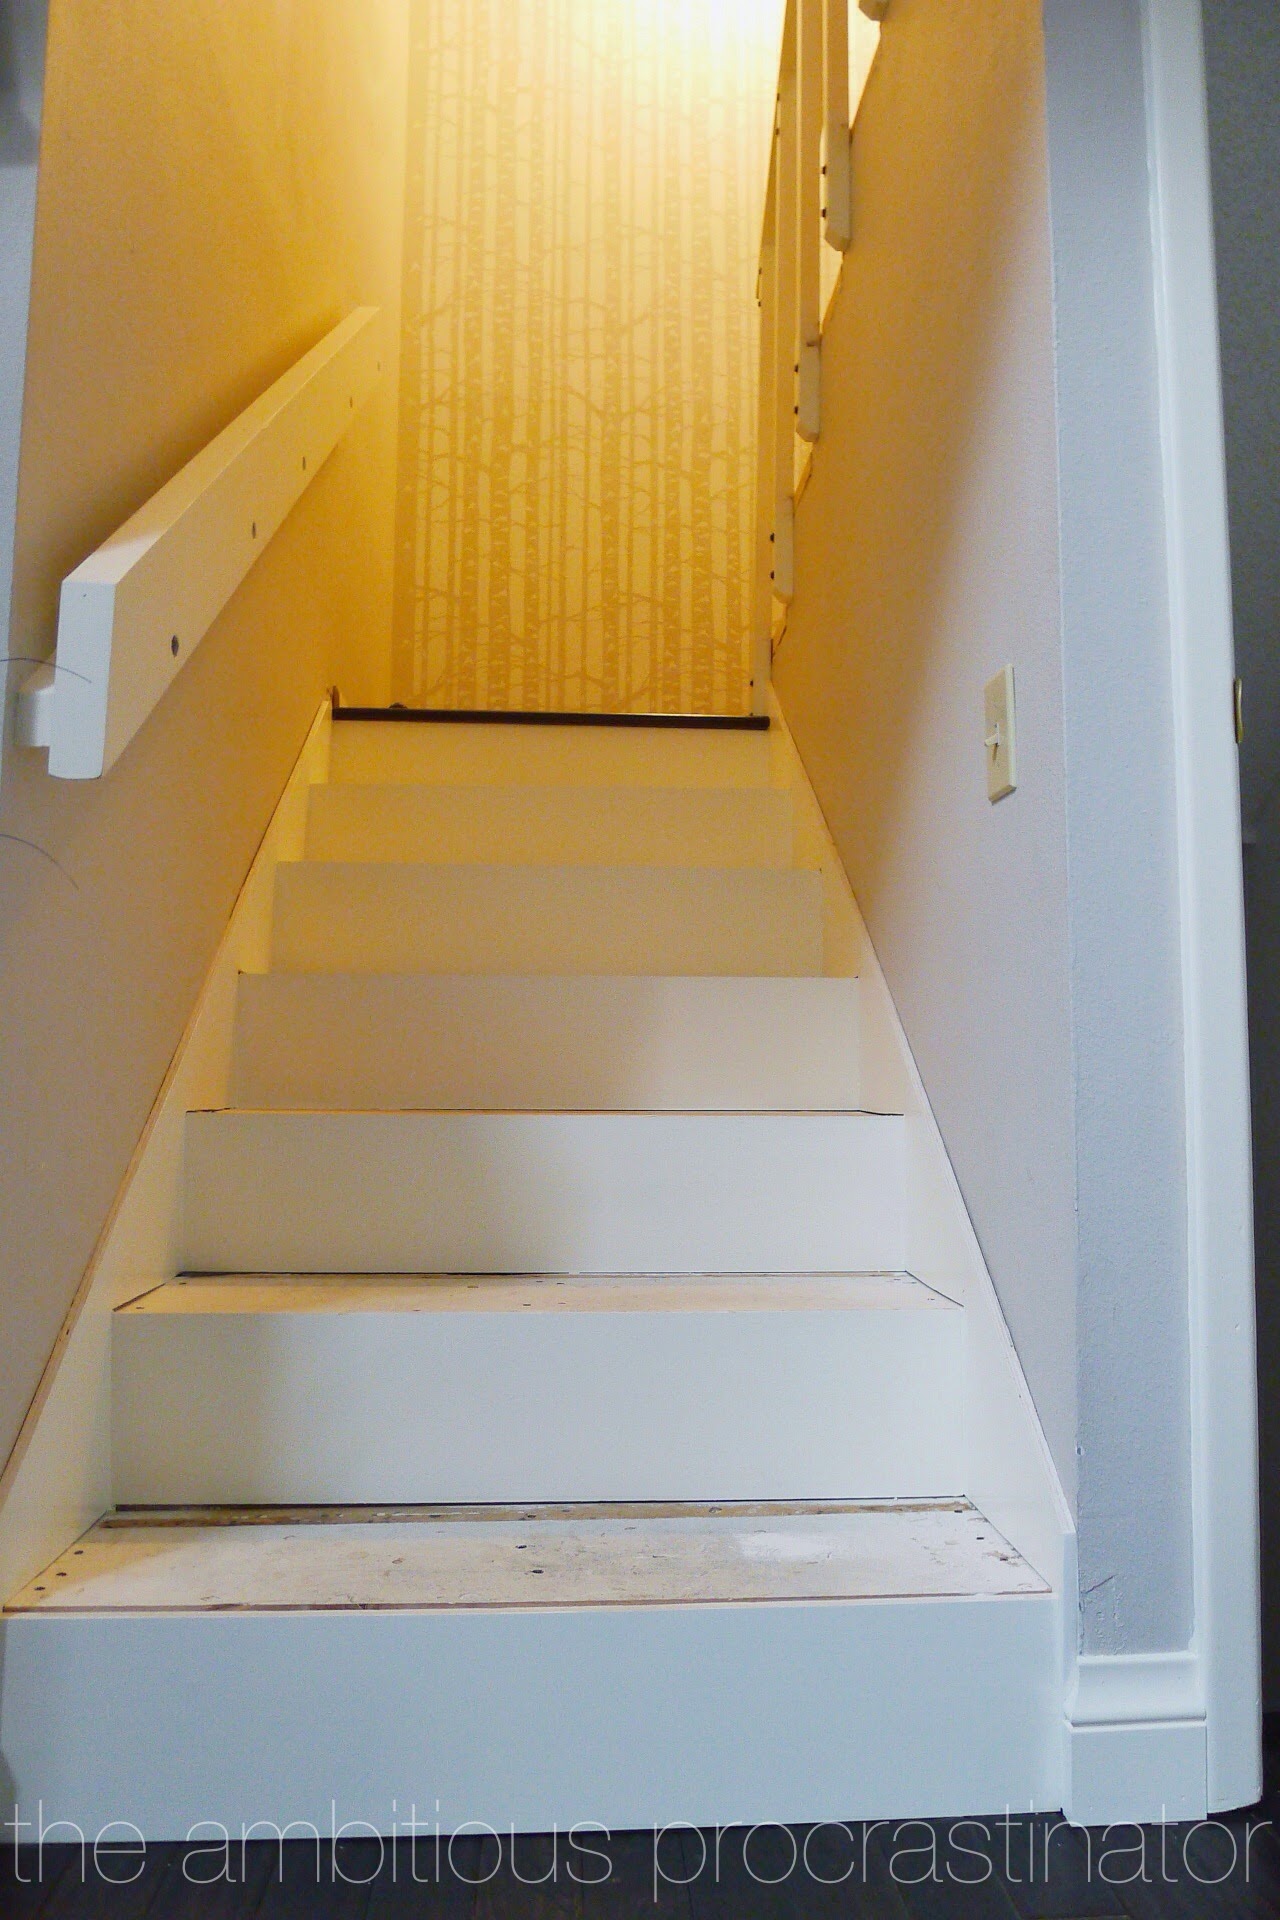
Yep, we finished the bottom half (also the more visible half) of the stairs, but not without a late-in-the-game-hiccup. Picking up from where we left off (cutting the treads to size), it was time to stain! Since we wanted them to match our hardwood floors that we put in I had taken a scrap piece of tread wood and a spare piece of flooring to Sherwin Williams to get a stain match.
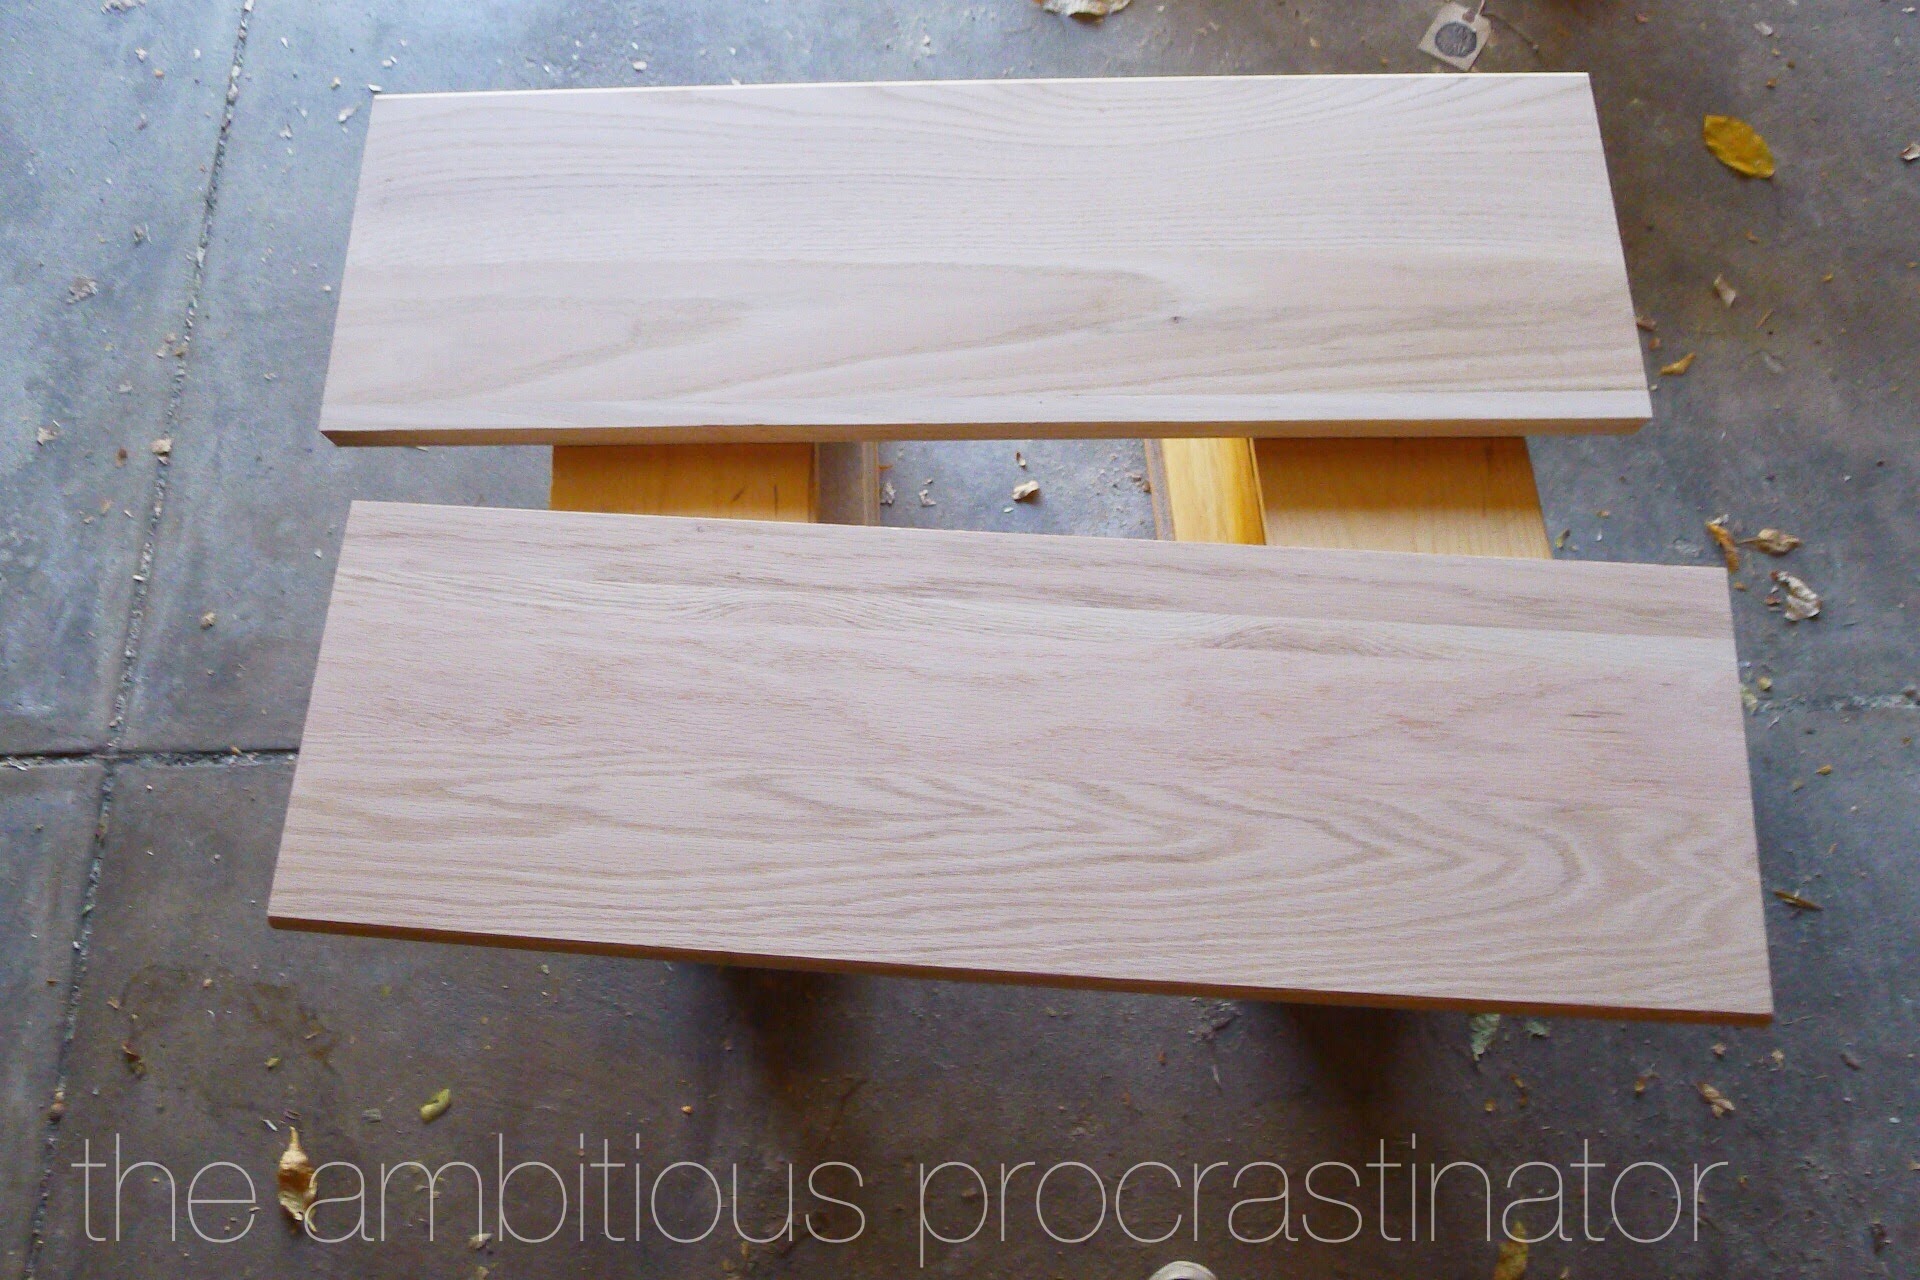
When I picked it up it looked ok to me, so I took these pristine slabs off wood and got to staining. So far so good, well except for the no gloves part. I forgot to grab a pair from the color department at work and at this point I was way too excited to get started to worry about stained cuticles. Sacrifice.
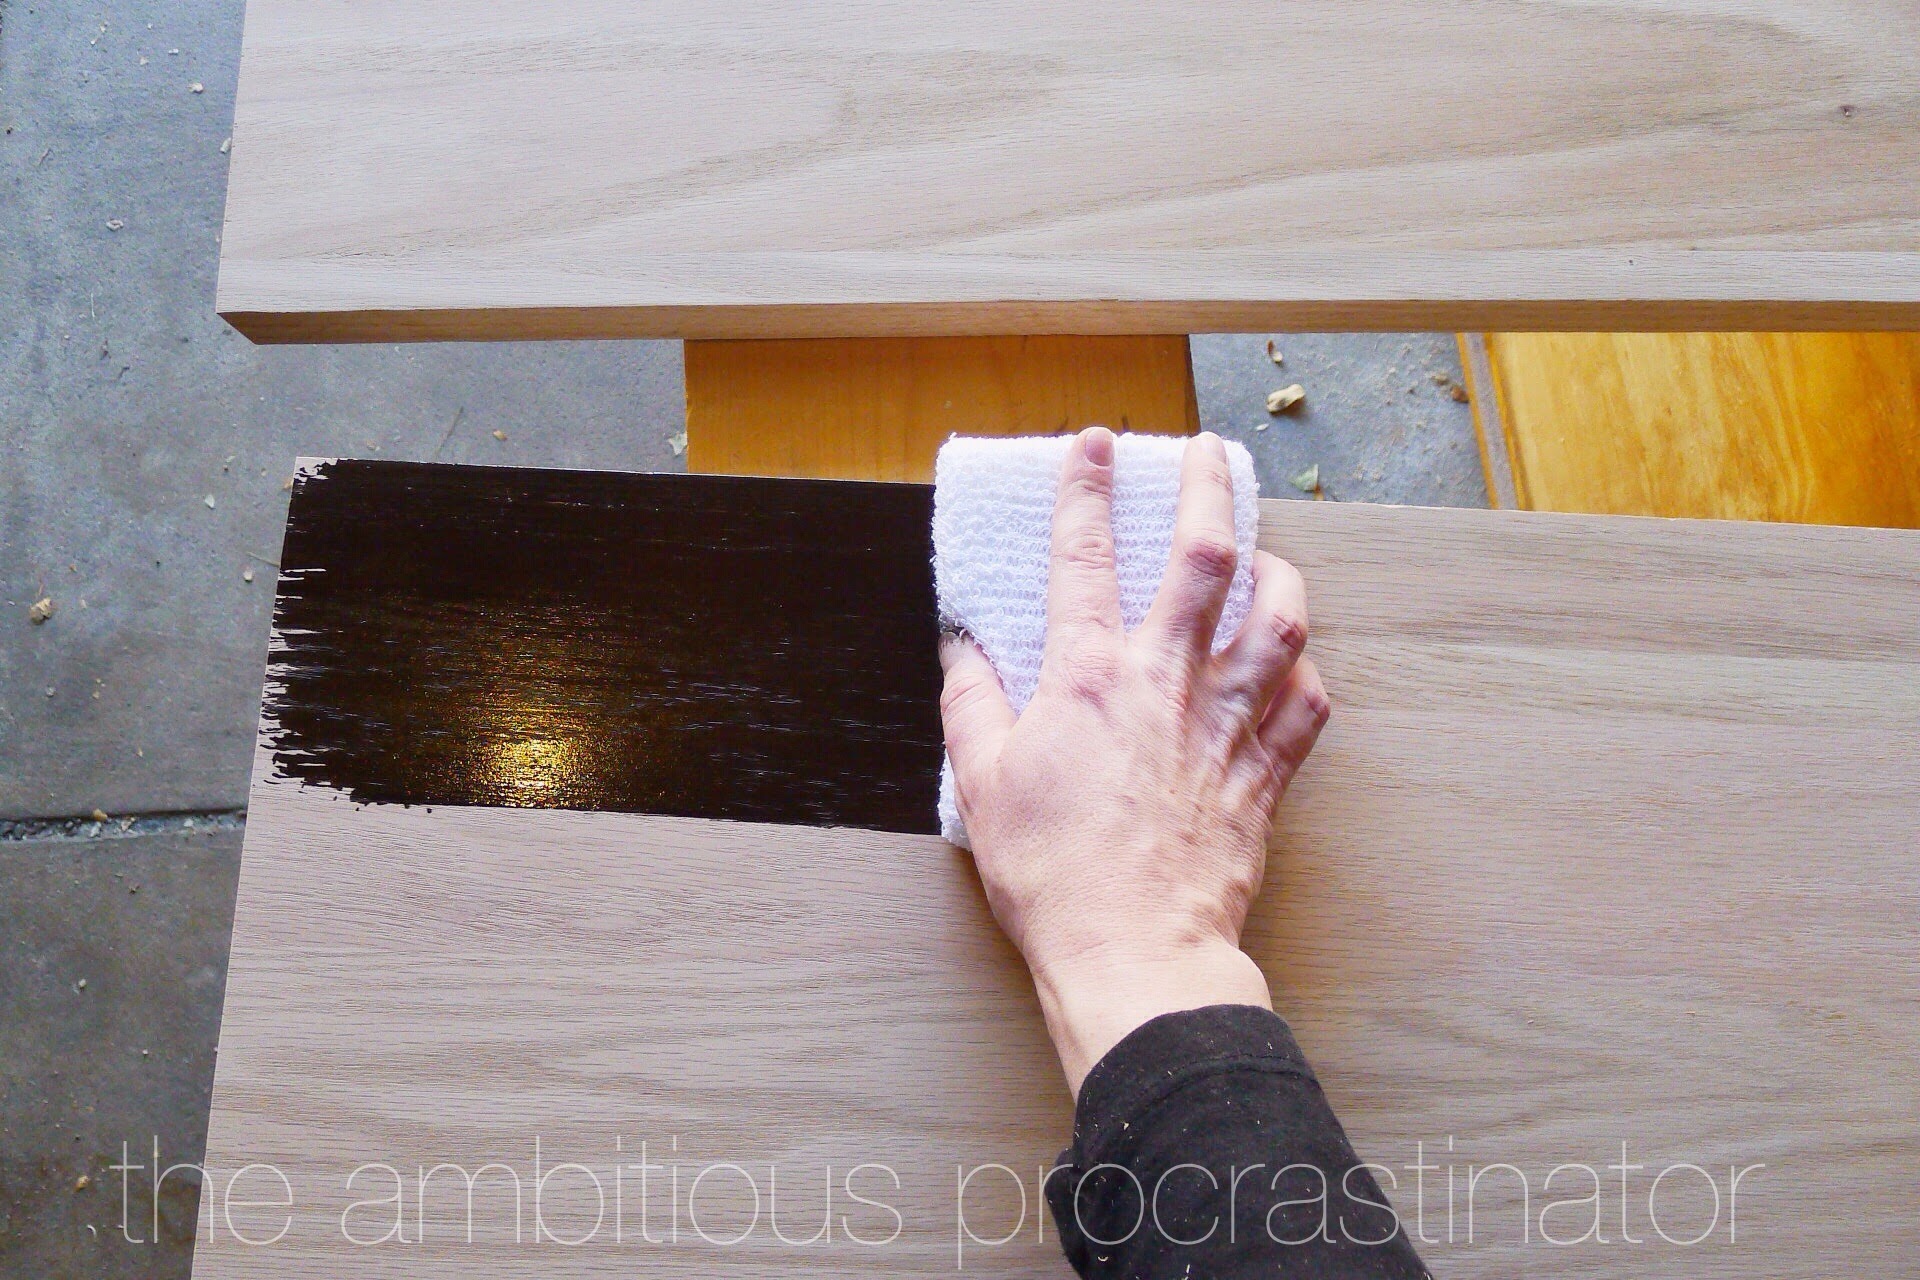
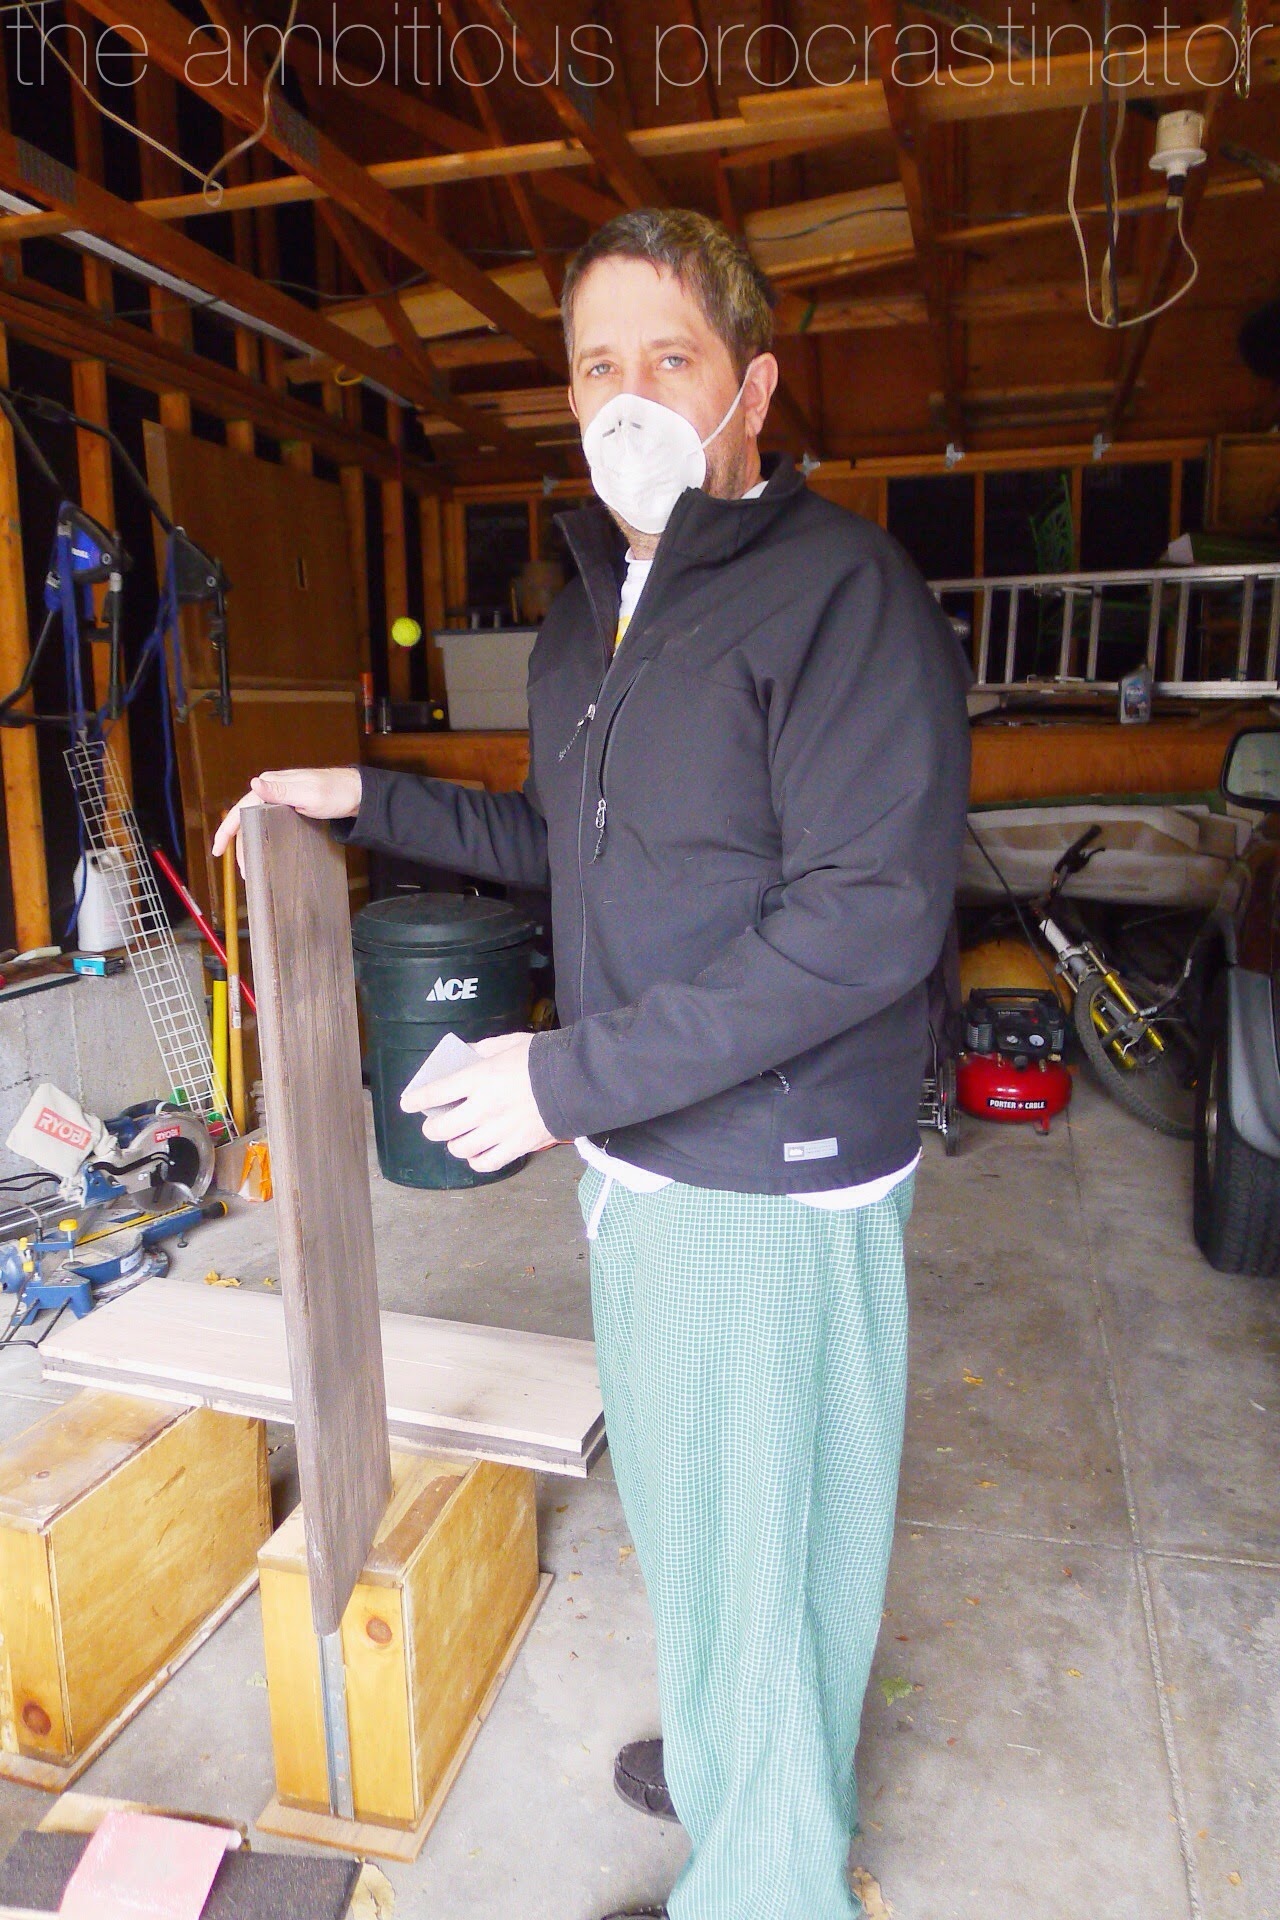
I even took a quick little break to take a picture with my unsoiled hand to document the process. Also, we really need to clean out/organize the garage, but that is for another day.

Things were moving along smoothly. Maybe a little too smoothly. With two coats of stain applied and an hour of recommended drying time I applied some poly with a brush. That's when things took a quick turn from "perfect and as planned" to "what the what?" With each stroke of the poly my nicely stained treads went from espresso to more of a reddish brown color. Not quite what I was going for.
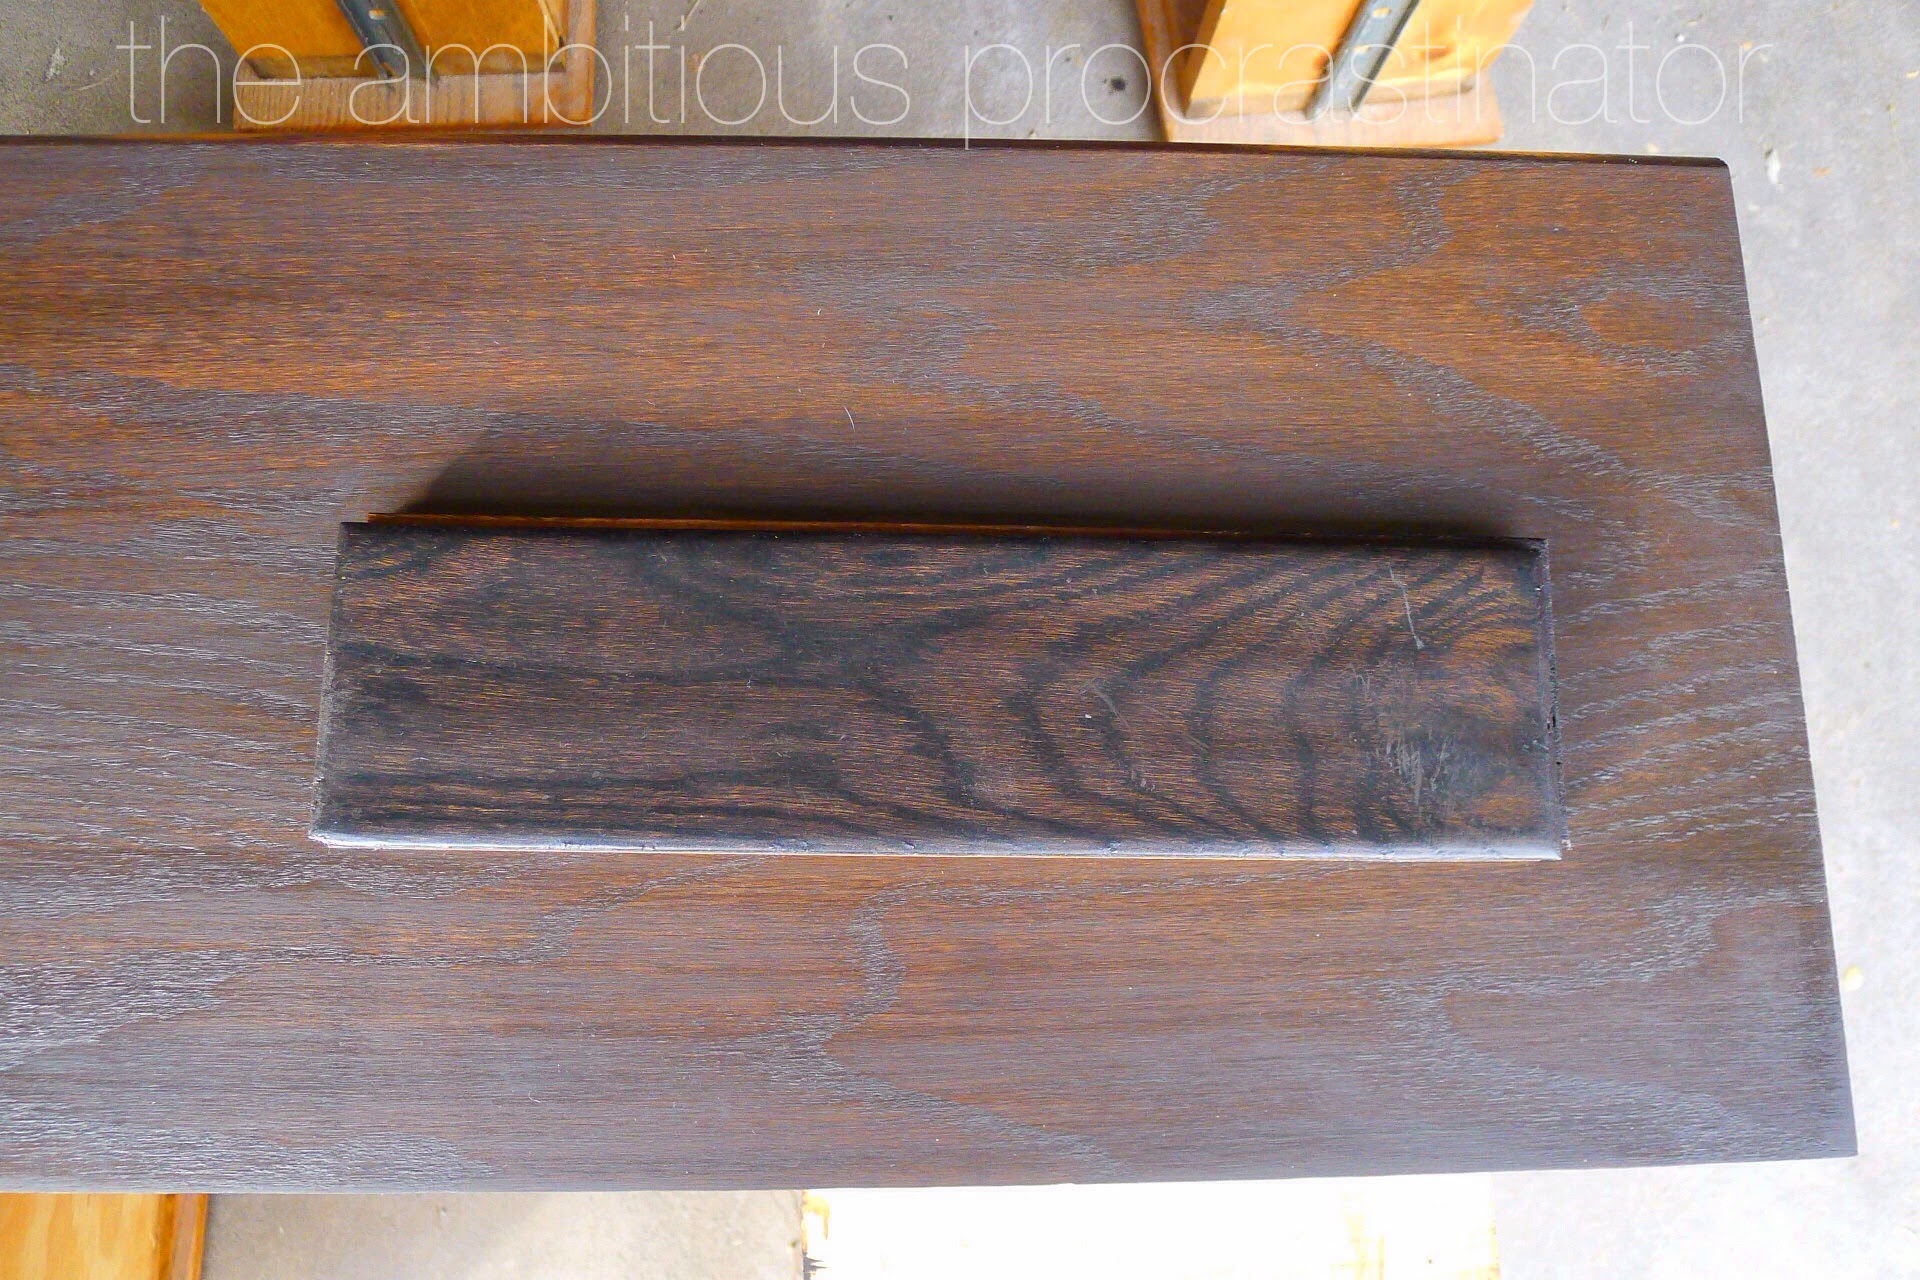
I tried to salvage it by rubbing on some stain after the poly dried, but it was useless. I had to admit defeat. I grabbed my reddish brown stair tread and an espresso-y stained piece of flooring and headed back to Sherwin Williams. The guy that was working was super helpful about re-tinting my stain. He even sanded the whole thing so we could try it out a few times to make sure it was right. He also told me that I should wet the treads a little to open up the grain because oak is well known for having a tight grain that is difficult to stain. Well known to paint store guys, not so well known to me. Since it was pretty much dark by the time I got home I would have to put off sanding all my hard work off until the next day.
Thankfully, Matt's knee has been healing up quite nicely and he offered to help me do some sanding, aka the worst job in the world. What a sweetie!
So I re-stained the treads using the Sherwin Williams guy's water suggestion, and sprayed the poly on instead of brushing and that seemed to do the trick. I sprayed 3 coats of poly and gave them a light sanding with some 320 grit sandpaper in between each coat, which made them smooth as buttah. Seriously, I've always been lazy about the whole sanding between coats thing, but I am now a convert! I even bought one of those little sanding blocks that holds your sandpaper all nicely instead of just holding it around a foam sanding block.
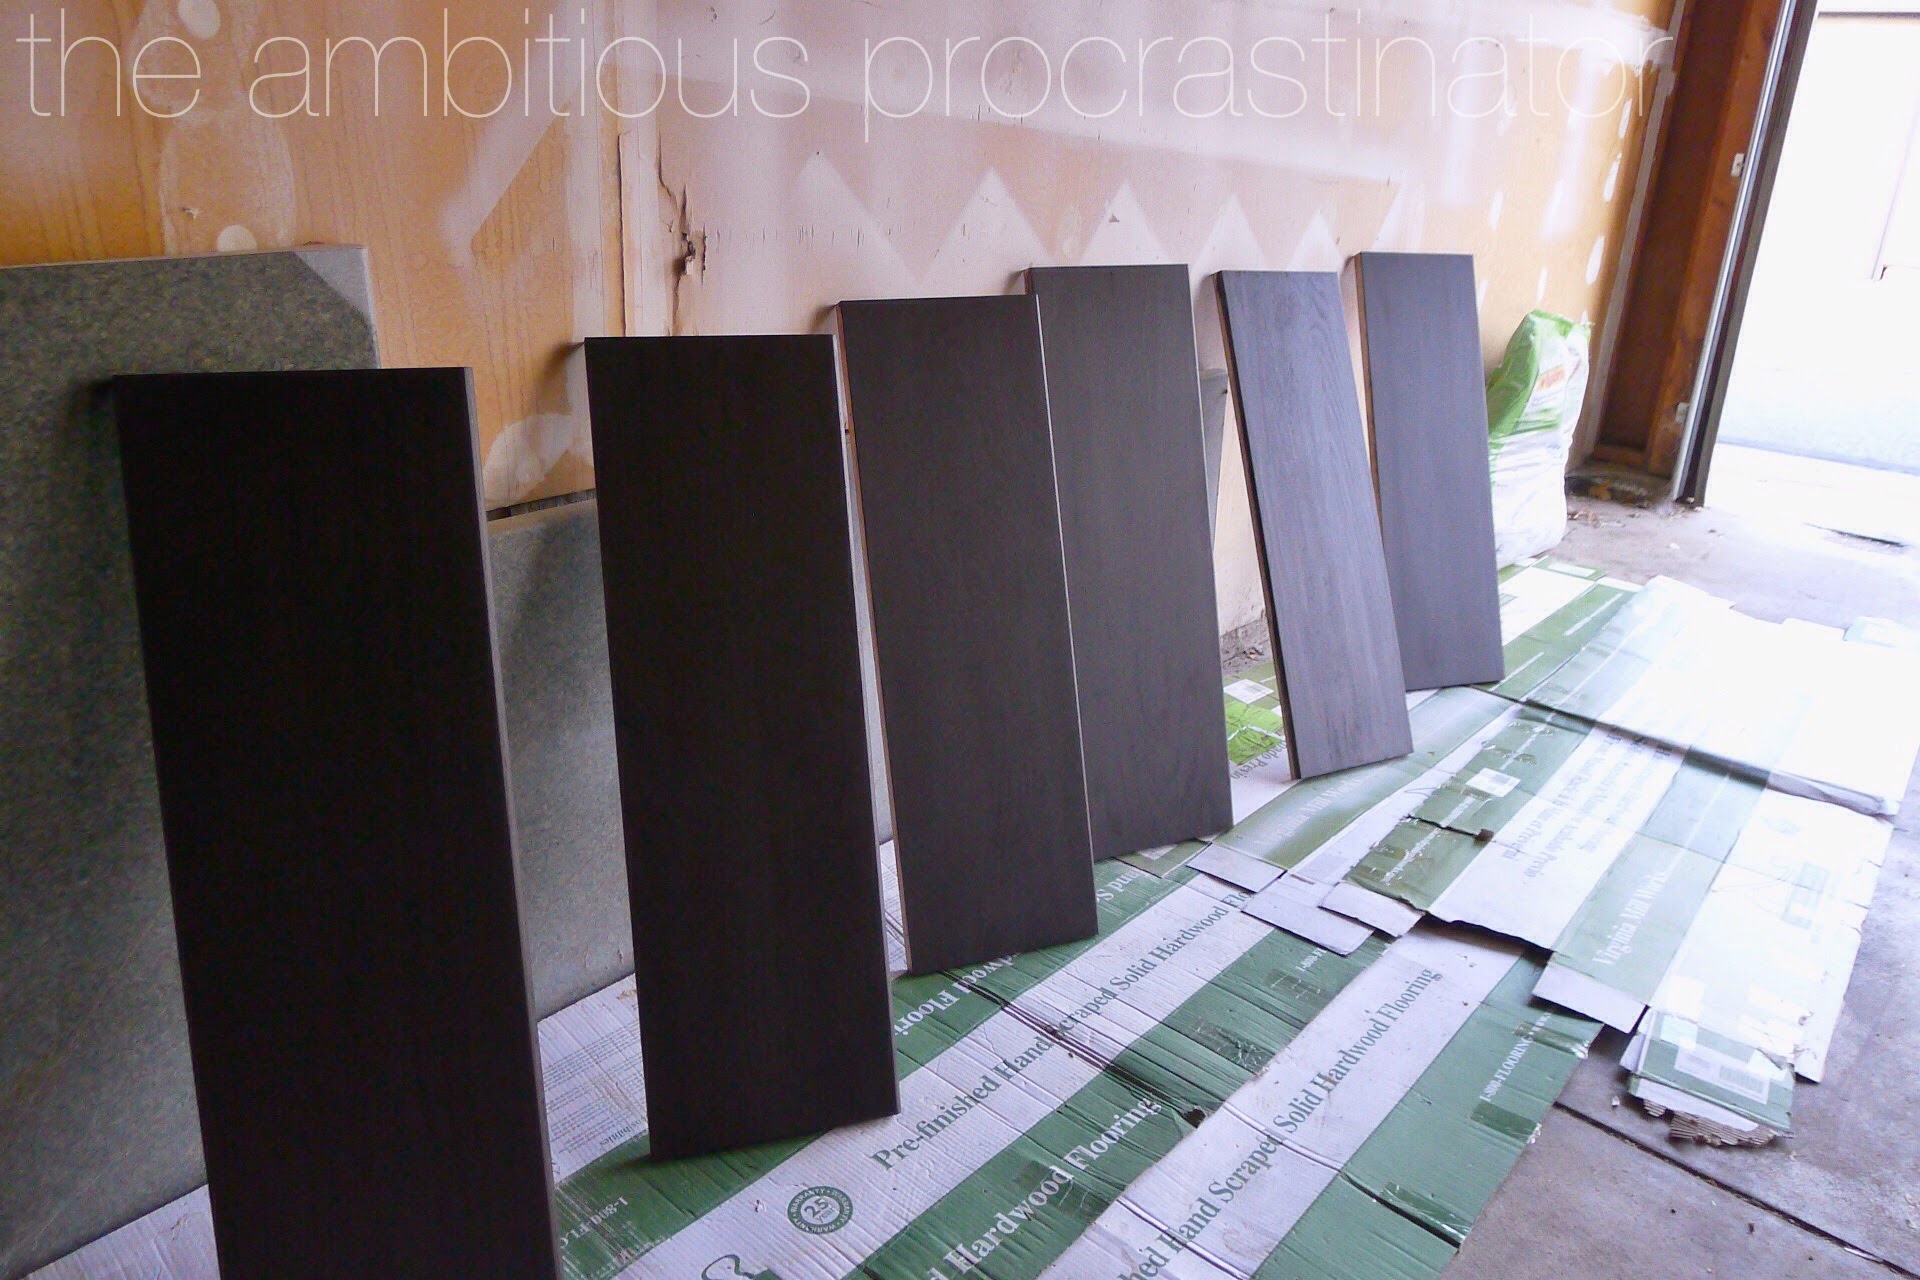
I left the treads to cure while I was on fall break, aka tagged along with Matt on a work trip before Thanksgiving. Which, btw was awesome! I haven't had a "fall break" since high school. It didn't hurt that it was probably 10 degrees in Denver when we left that Sunday morning, and by lunch we were sitting on a sun drenched patio tasting wine in Napa. In tshirts, no less!

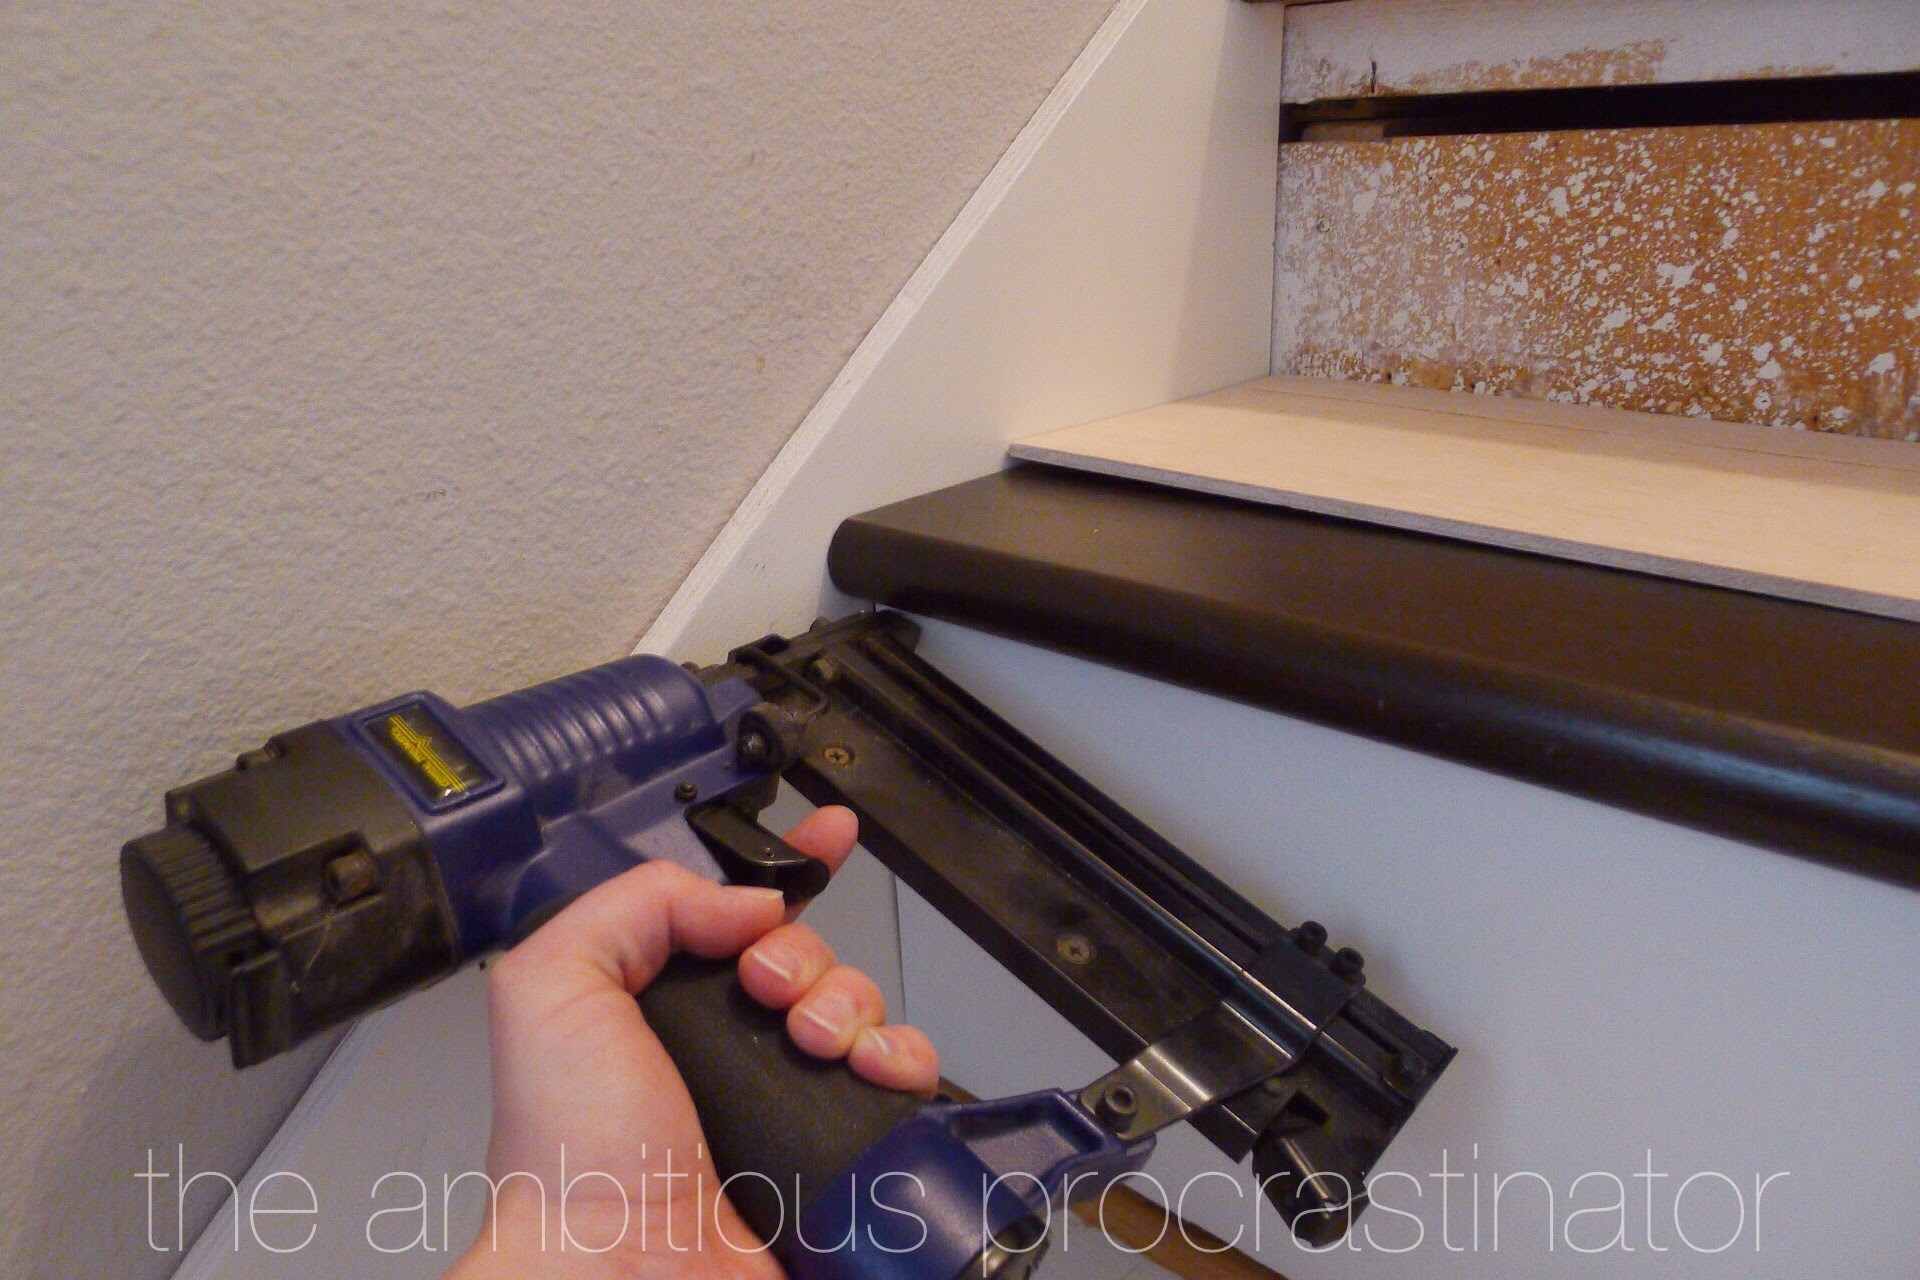
Anyway, once the Thanksgiving festivities wrapped up I got to work installing all my hard work. The first step to installation was attaching the risers. We applied a generous amount of construction adhesive on the back in a zig-zag pattern along the back before squishing it onto the exsisting risers. I had the stairs resting in place so that I could push the risers up to meet the bottom of each step.

Once the riser was tight against the bottom of the step I shot a nail in each corner to hold them while the adhesive dried.
Action shot! What, you don't wear those paper masks on your head when you're working? I think I must have forgot it was up there after painting the risers.

Risers, done! I decided to fill all my nail holes and seams at this point so I had less chance of getting paint on my freshly finished treads. I also covered up some scuff marks left from the stain on the treads. It's more noticeable in the third picture up.
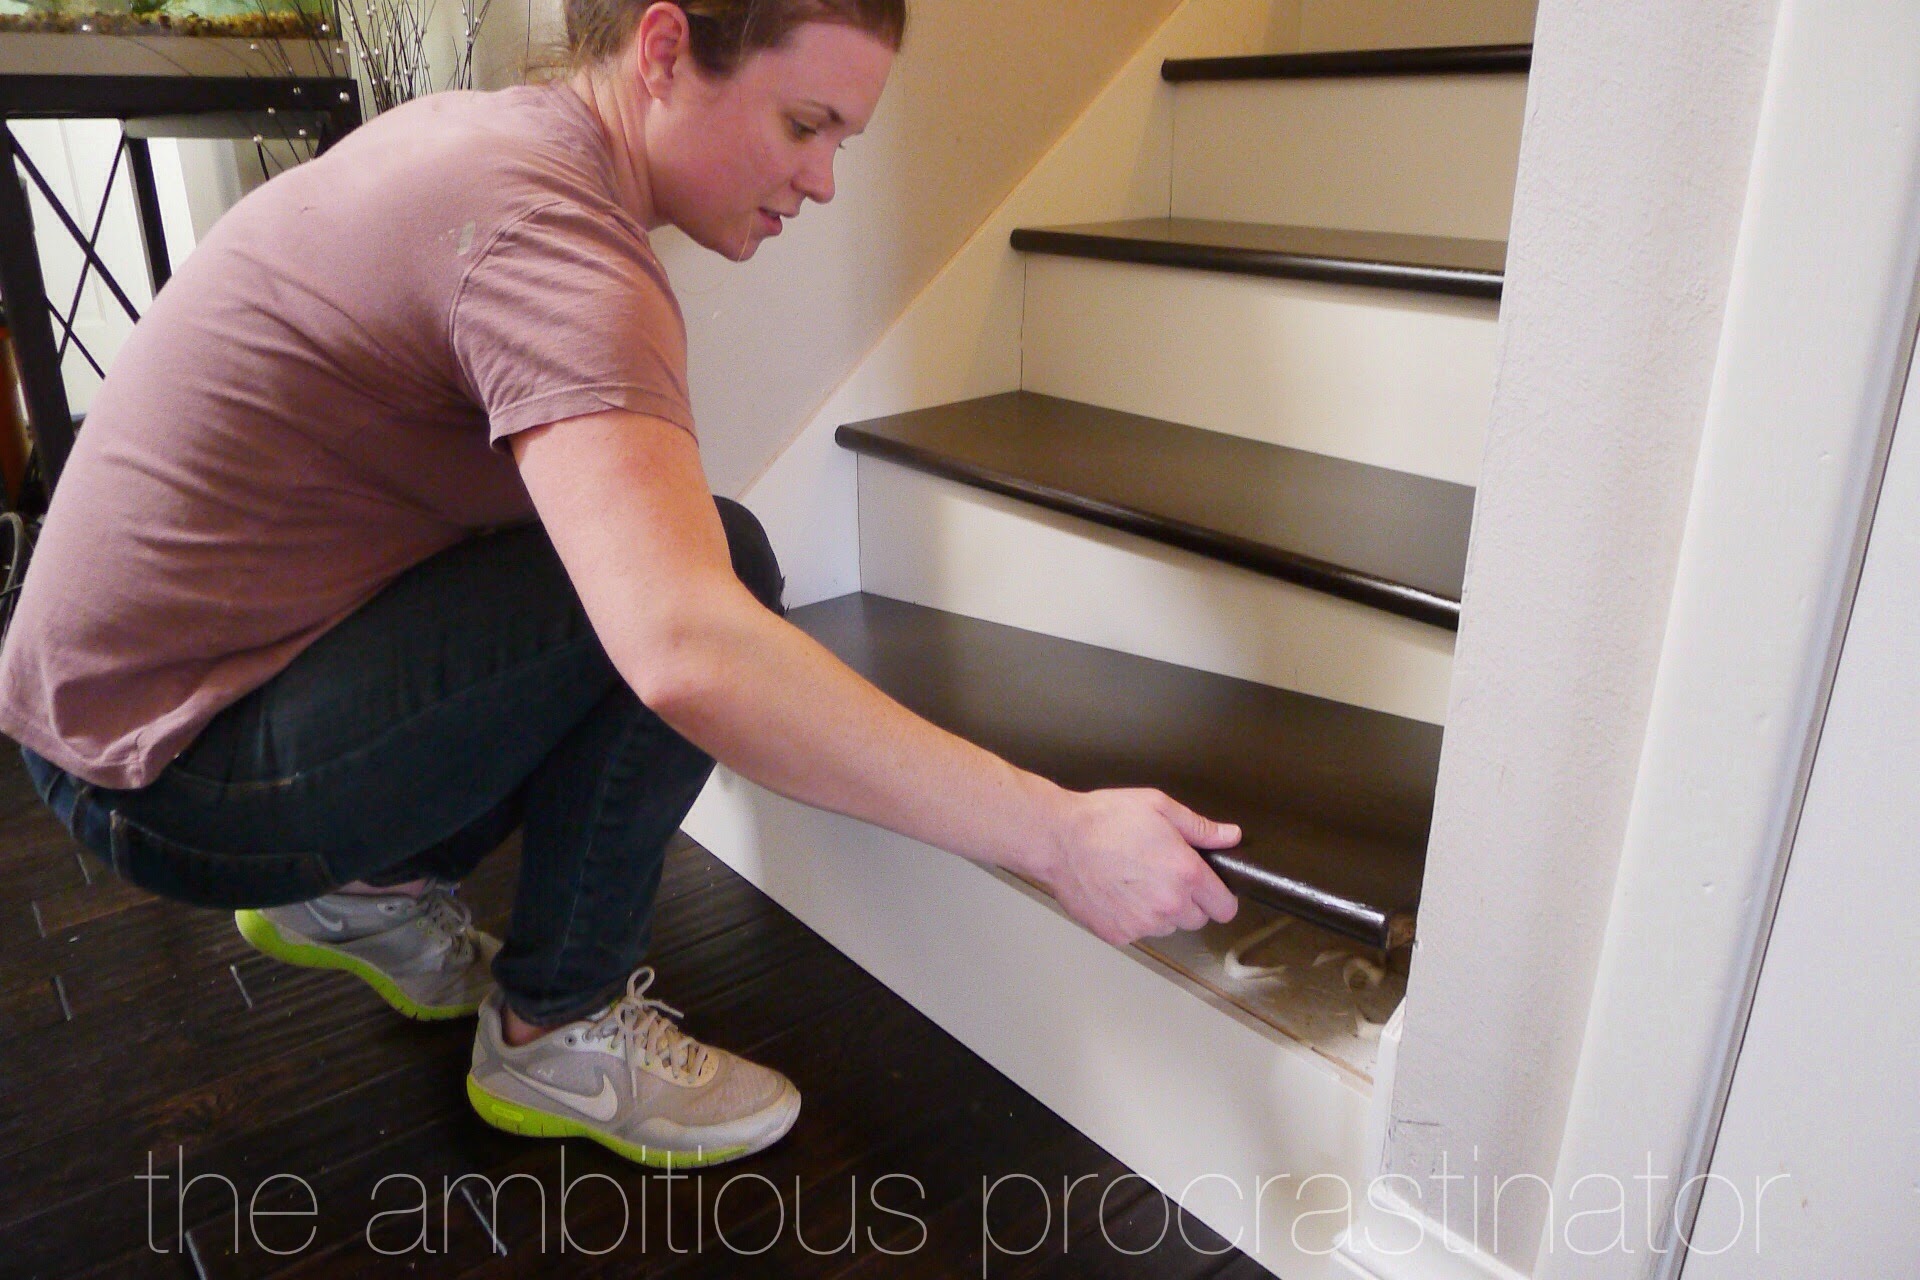
We used pretty much the same technique to attach the stair, except we applied the adhesive to the exsisting treads instead of the new ones, make sense?

That way I didn't get my hand covered in construction adhesive while lowering the tread into place.
Look how excited I am to be finished. Or maybe look how tired I am. Either way, I was pretty stoked.

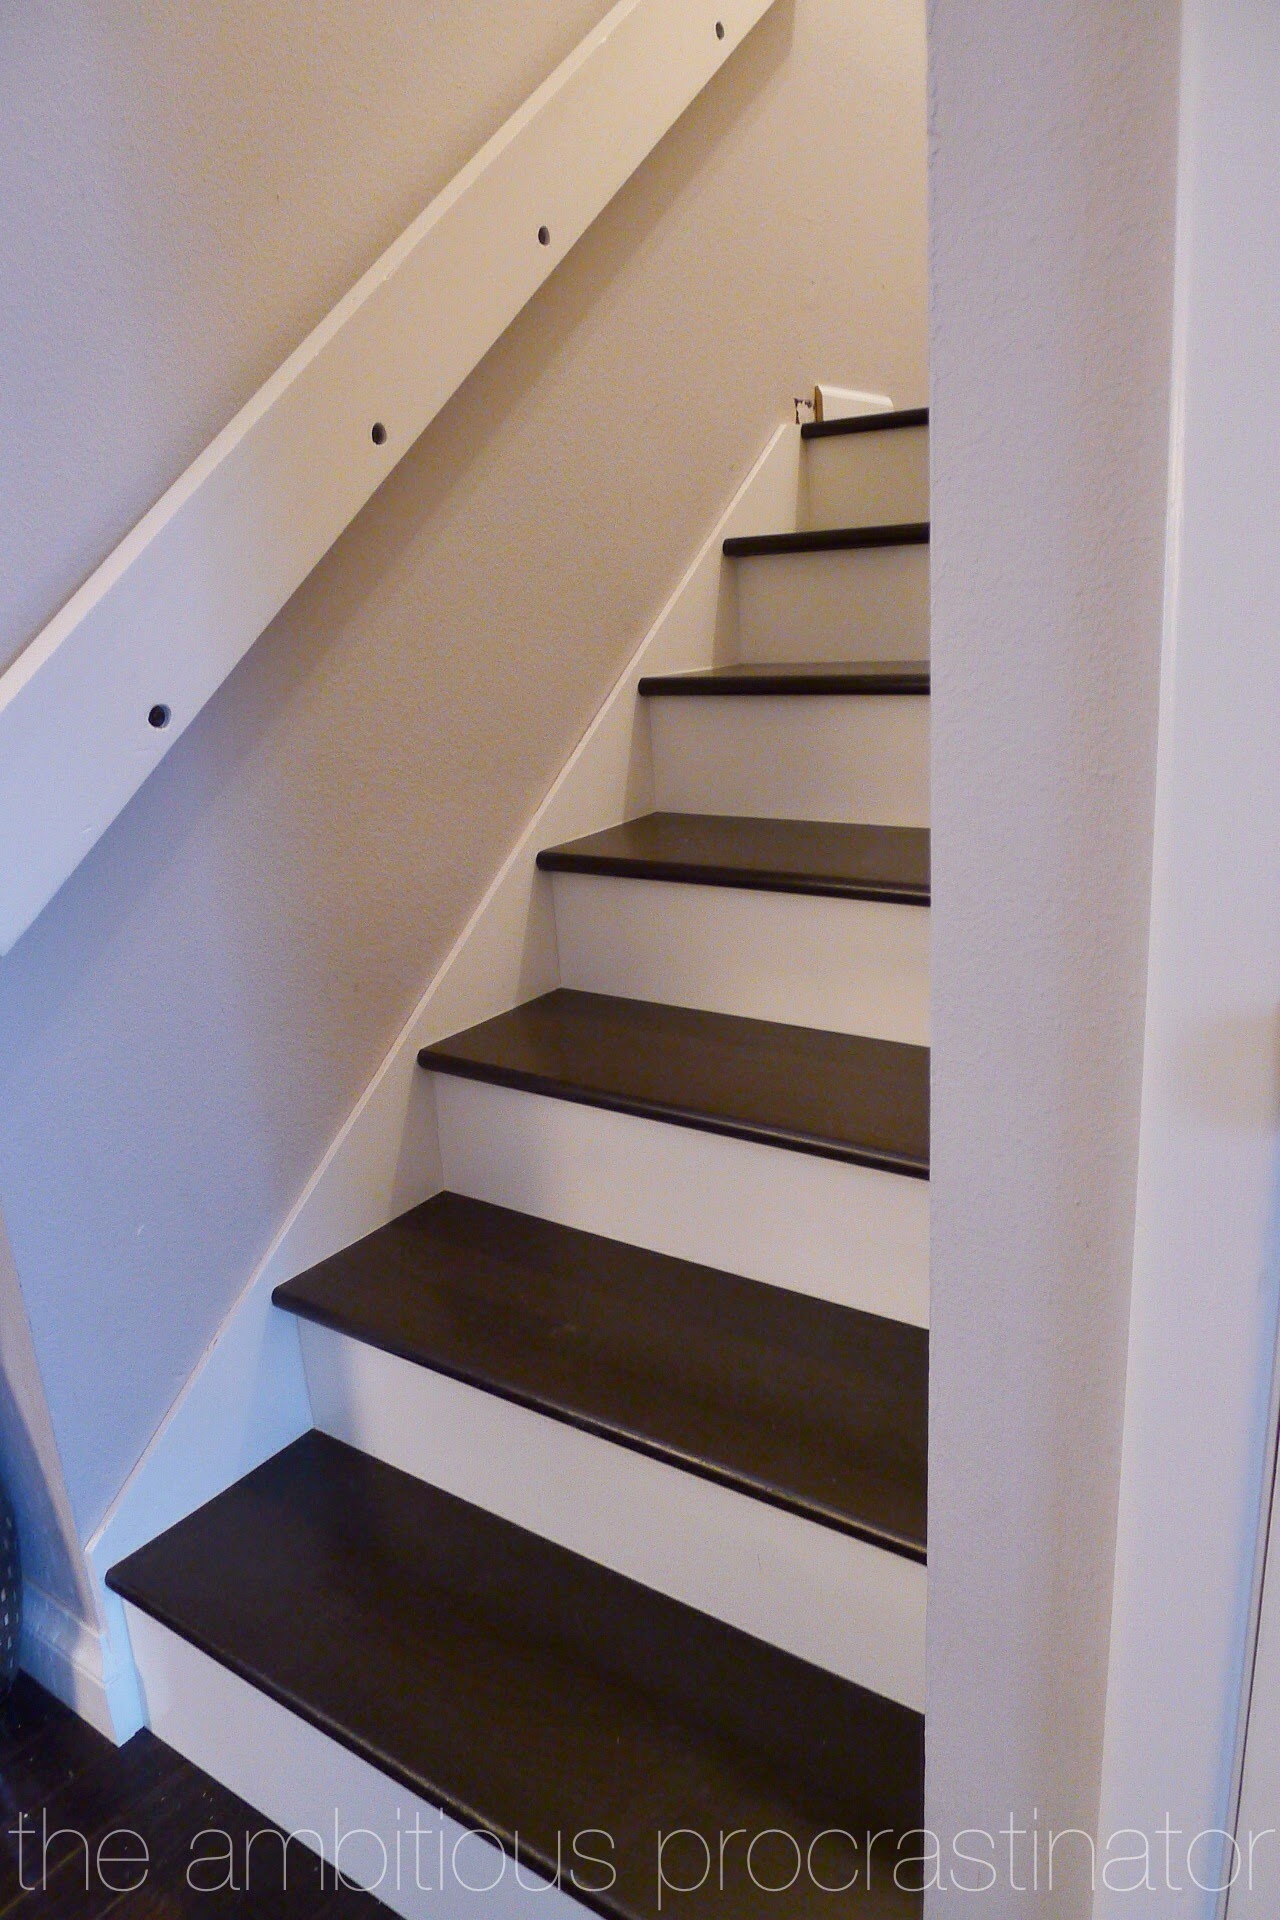
Now, let me get out of the way so you can check out the stairway glamour shots!
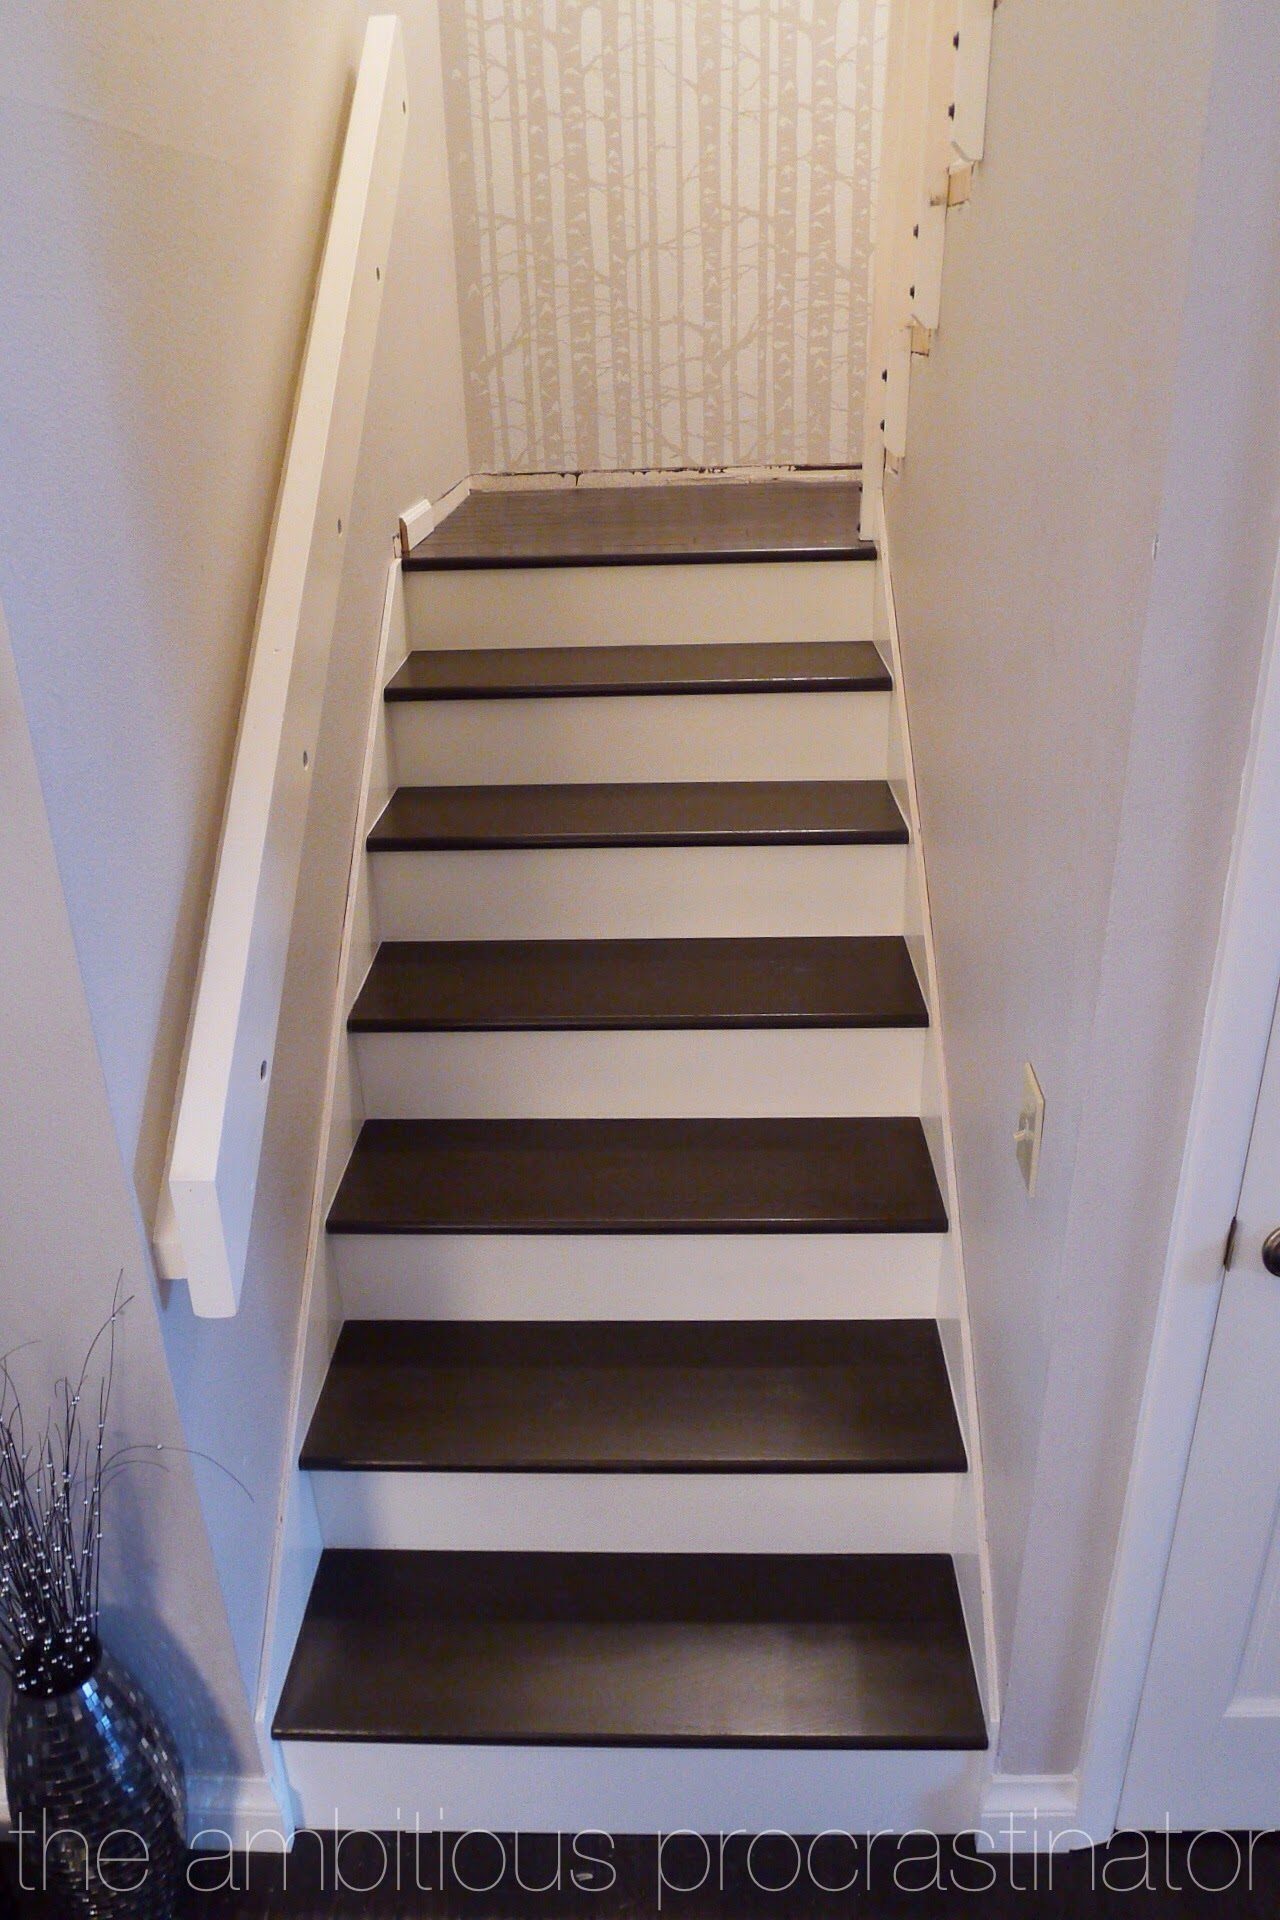
The match is a little closer looking in person, but even here it's not too shabby.

Now I just have to get to the top half (womp womp). Until then, it's Christmastime! I feel like I need to make some sort of ornament like I have in the last few years (here, here, here, and here) . I love all the Himmli stuff, but I don't think I have the patience for all those straws right now. Do you like to make a Xmas thing each year? That's a thing, right? If so, what are you making so maybe I can copy it!
Nikki Kelly


4 comments
Love them! they look so good!
ReplyDeleteI really love your stairs. It really looks great. And I guess you really did a great job there even though you started up with something unfortunate.
ReplyDeleteTreads-N-More.com
Hi there,
ReplyDeleteMy name is Anne Arntson and I'm the Editorial Production Assistant for HouseLogic.com. We're currently working on an article about ways to personalize your home, and one of the concepts to be mentioned in the piece is a stair upgrade. I'm writing to ask permission to use your before/after images from this post in the article.
Can you please send me an email? aarntson@houselogic.com I can give you more details.
Thank you!
Looks Good
ReplyDeleteHi! I love comments, they're the best!